
How to paint a fence
To keep your fence in prime condition you need to treat and paint it every couple of years. Over time the wood can fade and deteriorate, a fresh coat of paint will protect your fence from the elements and keep it looking good. To restore your fence to its original painted colour or to experiment with a new one, just follow this simple guide for the best way to paint a fence. Shop The Paint Shed’s selection of fence paints, stains and accessories to get started today.
Fence paint or fence stain
Giving your fence a touch of TLC is a great way to refresh your outdoor space. When considering a fence paint vs stain, the choice comes down to preference. If you are changing the colour of the fence, from a dark to light shade or vice versa paint is a better option. We've listed our top 5 fence paint colours to provide you with some inspiration and make your decision easier.
A stain or fence preservative will perform the same but the grain of the wood is likely to show through. This is because paint sits on the surface of the wood while a stain will sink in. Paint is, therefore, better for coverage however this can result in potential problems with rotting and the paint will fade over time with possible peeling and cracking.
You will also have to sand it off to repaint. For a cost-effective option that offers great protection while still allowing the beauty of the wood to shine through, we recommend a trade quality fence wood stain.
Choosing a fence paint
Paint for fencing comes in many different forms and there a few features you should consider before purchasing.
Is it quick drying?
First consider what time you have, if you live in an area prone to rain or strong wind you will need to opt for fast-drying paint. The quicker the paint dries the less risk of weather damage, it also means that you will be able to do two coats in one day. For a quick dry wood stain try Sadolin’s Quick Dry Wood Stain.
How many coats are required?
Most fence paints will require two coats with an average waiting time of 4-12 hours between each coat. Some trade quality paint, however, is specially formulated to provide long-lasting colour and protection in just one coat. Johnstones One Coat Shed & Fence paint is a great choice for anyone needing to finish the job in one day.
Is a primer required?
In cases where a fence primer is required, the application will help increase the lifespan of your paint ensuring a better, even finish. Some new paint formulas like that of Cuprinol and Sadolin Superdec combine a fencing primer and a top coat to cut down cost and time spent painting. Applying a primer with these paints may stop the paint from sinking into the wood so it is not advised.
Consider the cost
The average cost of wood paint or stain is £20, but this can vary depending on the brand or amount of paint that you require. When buying paint we always advise that you opt for trade quality options. With trade paints, your paint will go further, offer better protection and coverage and last longer.
What protection does it offer?
It’s important to read the product description of fence paints to know how long your fence will be protected and how soon you may need to repaint. Fence paints typically offer between five and ten years of durable protection, while a stain will last one to eight years. UV protection is important and something like Osmo Country S
Is the paint sprayable?
Some fence paints can be used in a garden pump sprayer, which is a great way to paint large areas in a fraction of the time. Always check that the paint or stain is suitable to be sprayed, for health and safety reasons we don't recommend spraying solvent-based paints or stains.
Johnstone’s One Coat Shed & Fence Paint and Cuprinol 5 Year Ducksback are just two of many sprayable options that we offer. When using a paint sprayer you must wear the necessary protective clothing to protect your skin and eyes.
Best Selling Fence Paints and Stains


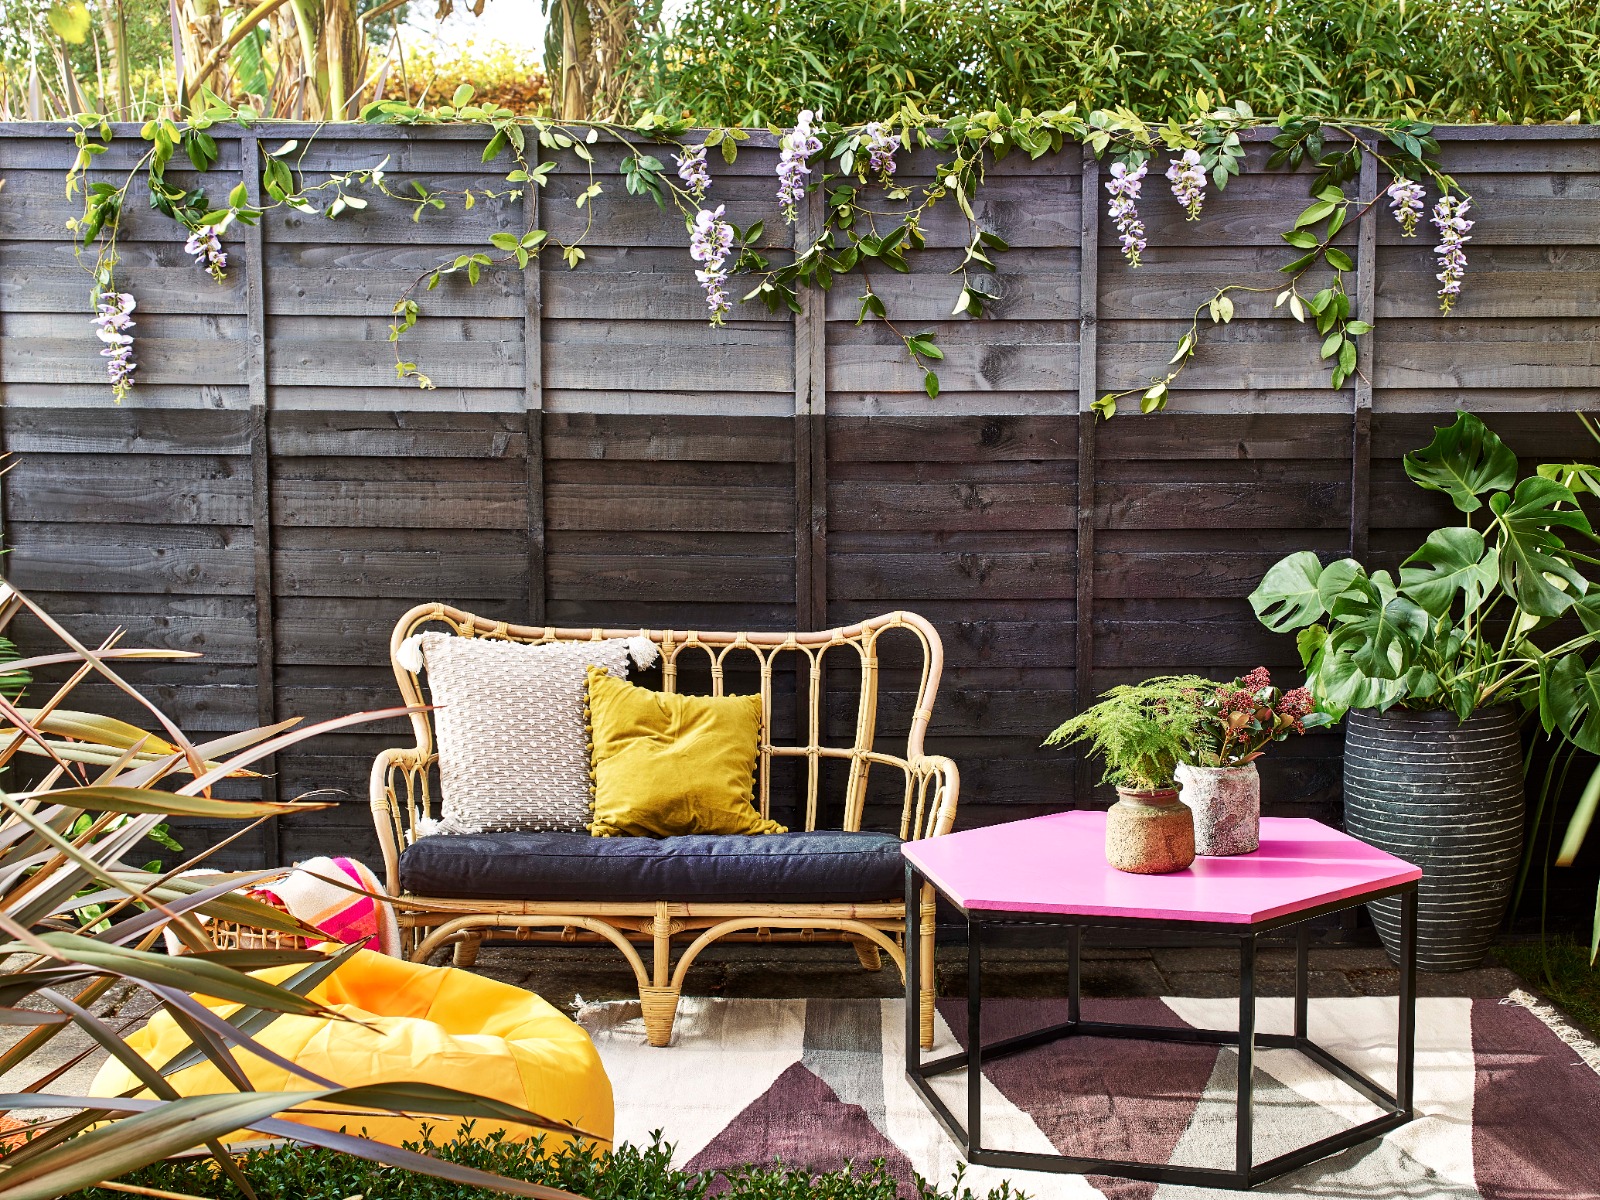
Choosing a fence colour
Staining or painting your fence is a great way to add colour and character to your garden.
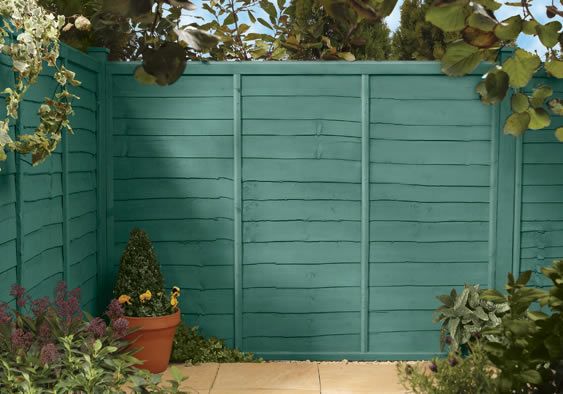
When picking a garden fence paint it’s important that the colour ties in with the look and feel of your home. Use your rooftop or other wooden surfaces in your garden (shed, decking, furniture) as a reference point. Pick a colour that will match, complement or blend into the landscape of your home for a cohesive colour scheme. Discover our top 5 garden fence paint colours if you're truly seeking some paint inspiration and want to make people envious of your outside space.
Brown and natural shades are popular for enhancing the natural beauty of the timber while whites, blues and greens are a good choice for introducing freshness and energy. Reddish tones work best in rustic environments and bold blacks or greys add a contemporary feel.
At The Paint Shed, we offer a wide range of colour match fence paints and colour match fence stains that can be tinted to thousands of shades including designer colours. If you've seen a colour you like, simply enter it in the colour selector online before adding your chosen product to the basket. Our team of paint experts will then mix your paint or stain to order and ship directly to your door.
Colour Match Fence Paints and Stains
Fence painting preparation
How to paint or treat old fence panels
If you are working with an older fence take the time to treat and restore your panels before painting. Start by lightly sanding the surface to remove any previous paint. Fix chips and cracks with glue, replace old and rusty nails and scrub away any dirt, grime and mildew with a stiff bristle brush to reinforce the strength of your fence. Next clean the area with a fungicidal wash to remove any algae, moss or paint debris. Once dry, apply a coat of wood preserver to prevent wood rot. When the weather forecast and fence are fully dry you can begin to paint.
The stronger and cleaner your fence is the more receptive it will be to any treatment or paint you apply later.
Painting new fence panels
When painting new fence panels, simply wipe down and mask off any areas that you don’t want to treat (posts, locks). Use painters tape or old newspaper. Lay out a protective sheet or dry cloth on the ground and get to work.
When to paint a fence
When deciding when to paint your garden fence aim for a dry day that is not overly humid or hot. Working in direct sunlight will dry out your paint too quickly while working in colder wet conditions will ruin all of your hard work. Most fence paints take between 4-12 hours to dry with two coats required so pay attention to the weather forecast.
Fence painting options
Most fence paints are thin enough to be applied with a paintbrush, roller or sprayer. Which one you choose depends on how much paint you have, the surface area you are painting and what tool you work best with.
For larger fences, a spray gun will help you work quickly and efficiently. For painting a picket fence a paintbrush is recommended to give you more control.
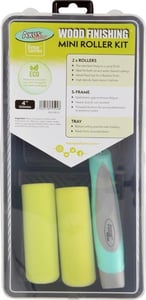
To paint garden fences, however, we recommend using both a roller and a paintbrush. This will help you paint the fence quickly without wasting a lot of paint. Use the roller for flat surfaces and the fence brush for edges.
Equipment needed
Materials - Fence Paint, Fence Stain, Sandpaper, Fungicidal wash
Tools - Paint Brush, Paint roller, Roller Tray, Fence Paint Sprayer, Wire Brush, Dust Sheet
Picking the right tools will help you achieve a professional finish. Here is a quick guide to your options.
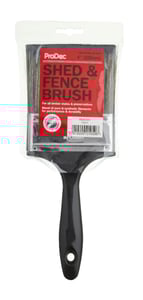
Natural, mixed filament and synthetic brushes are all suitable for working with woodcare, solvent and oil-based paints. Wall brushes are perfect for flat surfaces, helping you achieve a smooth even finish, while trim and sash brushes work well on edges and angles.
Rollers come in a size range of 1 to 12 inches with both reusable and disposable options available. Team with a handy extension pole to adjust to your perfect length.
The five main variants of paint sprayer include an airless paint sprayer, High Volume Low-Pressure sprayers, Low Volume Low-Pressure sprayers and compressed air. LPVP sprayers are the best option for big projects such as spraying a fence or wall.

Fence Painting Tools
How to paint a fence
How to paint a fence with a brush
When painting your fence with a paintbrush start with a paint test. Apply paint or stain to a small section of your fence to ensure the colour is correct and that the paint adheres properly.
If all is correct, stir your paint or stain thoroughly and begin painting along the top edge of the first fence panel moving vertically until the panel is fully covered.
*If you are using a wood stain paint along the direction of the gain.
Next start to paint each panel individually, moving from left to right doing one side at a time.
Once complete leave to dry for the recommended time (4-12 hours) and then apply your second coat following the same process.
How to paint a fence with a roller
After properly cleaning your fence and preparing the area, shake the can or stain or paint and stir thoroughly.
Pour the paint or stain into a paint tray
Dip your largest roller into paint/stain about ½ inch in and begin to cover the fence with smooth even movements. Work along the grain of the wood if you are applying a stain.
Once the flat areas of the fence are covered, switch to a paintbrush to smooth out uneven areas. Be careful to correct any paint drips before they dry.
Next, dip your smaller roll into the paint and use it to cut into the narrow areas and edges of the fence.
Wait for the first coat to dry and repeat the process.
*Rougher fences will require rollers with deeper naps for maximum coverage. You will need the biggest nap for highly textured fences.
How to paint a fence with a spray gun
Before spraying your fence you need to set up your equipment and move into the proper position. When spraying your paint it is important to maintain a 6-8 inch distance between the spray guns nozzle and your fence.
Next set your nozzle to spray in the correct pattern. For rails or painting in a horizontal pattern set to spray vertically. For painting fence panels set to spray horizontally and move the spray gun in up and down motions.
Move slowly to cover all of the edges and intricate cutwork, revisit each area to ensure coverage and retouch any spots that appear thinner.
If you are working with a textured fence you may want to go back over your work in the opposite direction. This will eliminate streaks and ensure maximum coverage.
Allow to dry and repeat these steps for the second coat.
Fence painting tips
Our top tip is always to use a good trade quality paintbrush. Buying cheap means buying twice and a professional brush can make all the difference. With an old brush not only will your job be harder, but the bristles may also shed onto your newly painted fence causing an unsightly finish.
If your fence has signs of mould, moss or algae, this must be removed before painting. Use a specialised mould and algae cleaner to kill off biological growth and clean off discolouration before painting.
If painting a fence with a gate, first remove the hinges, door and barrel bolt to make your job easier. Alternatively, mask off the hardware and place a plastic bag over the handle to avoid paint splatter.
Things you should know before painting your fence
Before painting your fence you should first figure out the best time to paint outdoors according to the weather forecast, next what paint/stain, primer and equipment you will need and how you will protect your plants, ground and surrounding area.
Once you have secured all of the tools you should decide how best to apply the paint and how you will protect your clothes and self while doing so. Remember to take breaks and not to work in direct sunlight.

Fence Paint FAQS
How much fence paint do I need?
While we always recommend that you read the application rate/coverage information of each paint, to estimate how much paint you need you can measure your surface dimension and use our handy paint calculator to do the hard work for you.
Most garden fences come with 6ft wide panels with heights varying between 3ft to 6ft. Remember to purchase enough paint for two coats to cover both sides.
How long before you can paint a new fence?
If you have recently built your fence you will want to let it settle for 3-4 weeks before painting or staining. Painting before this may cause the wood to warp and the paint will not adhere correctly.
How long does it take to paint a fence?
On average it will take one person 2-3 days to finish their fence. With most fence paints needing between 4-12 hours between each coat, you can significantly speed up the process with quick-drying fence paint. Opting to spray your fence and or using a combination of a roller and paintbrush can also cut down your time spent painting.
Best time of year to paint a fence
In the UK, summer is recommended as the best time of year to paint exterior wood. It’s typically dryer than other months which will allow the paint to set correctly. However always check the weather forecast beforehand, if your fence is too hot the paint will dry too quickly and not properly set into the wood.
How often should you stain/paint a fence?
If your fence is drip treated it will require yearly treatment, whereas pressure treated fences can be left for years. That said, over time paint colours will fade so to keep your fence in top condition we advise painting or staining every 2-3 years.
Can you paint wet fence panels?
Your fence needs to completely dry before painting so that the paint/stain can fully adhere/be absorbed into the wood. If it has rained you must let your fence fully dry out before attempting to paint/stain the panels, how long this will take depends on the climate but allow for a minimum of 24 hours dry time.